How to Conduct a Bioassay to Test for Herbicide Contamination
Prevention is better than remediation when it comes to this garden disaster
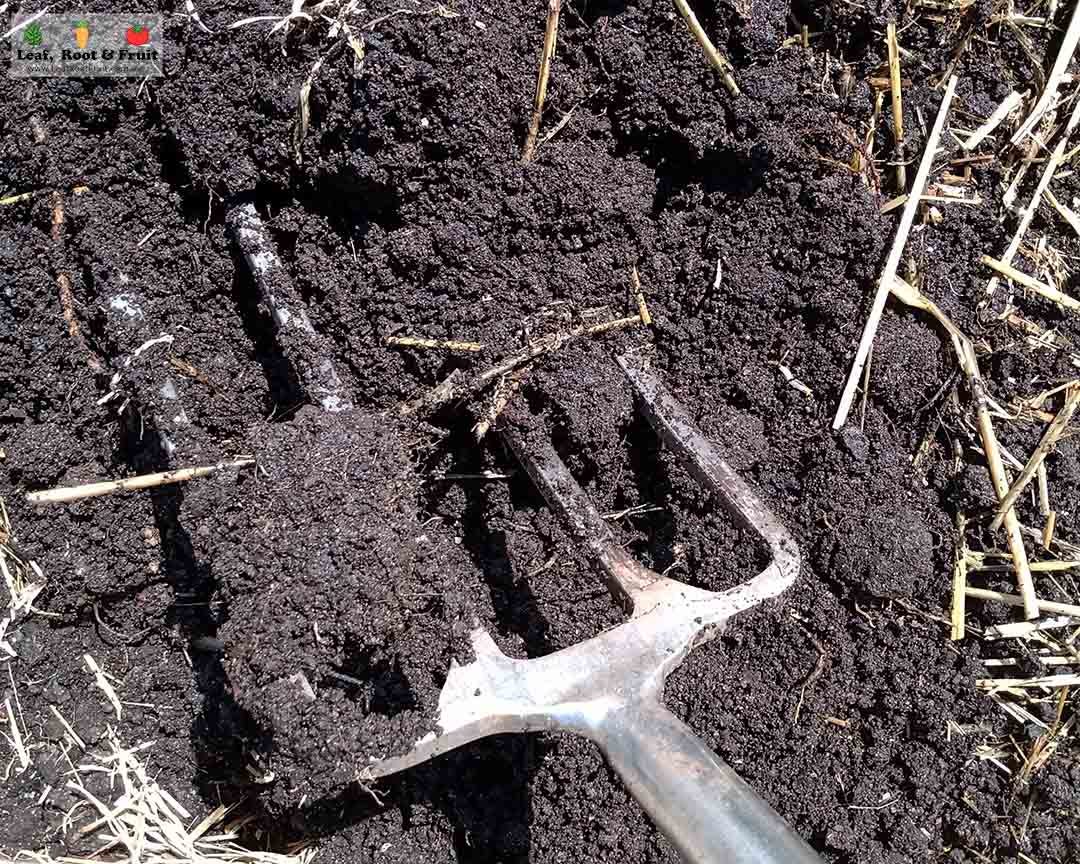
In recent years there has been an increase in herbicide contamination in the commercial compost supply chain. This has been disastrous for some home gardeners, leading to significant plant deaths and the hassle and cost of removing the affected material. I know of one gardener who had to remove 10 cubic metres of contaminated compost from his front yard by hand when the garden supplies centre refused to take it back.
Other gardeners have had to completely empty their raised vegetable garden beds and replace it with fresh soil (at their own cost) after they purchased a premium soil blend that was contaminated. They also wasted an entire growing season thanks to the failed crops and had to pay to dispose of the contaminated soil.
In today’s post I look at how to avoid introducing contaminated materials to your garden using a simple test method called a bioassay.
Broad leaf herbicides (such as aminocyclopyrachlor, aminopyralid and clopyralid) can be introduced to gardens via contamination of commercial manure, compost or soil, as well as via mulch from straw and hay. It is believed that in 2020 the herbicide entered the supply chain in Victoria when large quantities of turf from a sports field or golf course (regularly treated with a combination herbicide and fertiliser product) were added to a commercial scale compost system.
These herbicides are extremely potent and persistent. That is, they can affect plants at very low levels in the soil and they have a long half-life, meaning they take a long time to break down in the soil.
This is an increasing problem. The more I look for it, the more that I find low levels of herbicide contamination present in loads of soil and compost supplied by garden supplies centres. I even accidently spread several cubic metres of contaminated mushroom compost through my new netted enclosure (more on how I misinterpreted my bioassay results later). Fortunately for me, the long term impact was minimal. But others have been heavily impacted by broad leaf herbicide contamination in their gardens. This is definitely a case of prevention is far better than cure.
Laboratory testing is not a viable option for backyard growers
Laboratory testing for herbicides is possible. However, the tests are extremely expensive. The main limitation with laboratory testing is that the herbicides are so potent that they can still affect plants at lower concentrations than the laboratory assay limit of detection. This means that a laboratory test result may state “None Detected” but low levels of herbicide present in the soil may still affect the growth of plants.
A cheap and potentially more reliable method of testing for broad leaf herbicide contamination is a bioassay. This method relies on growing plants that are sensitive to the herbicide in material that might be contaminated to detect its presence.
How to sample your material to bioassay
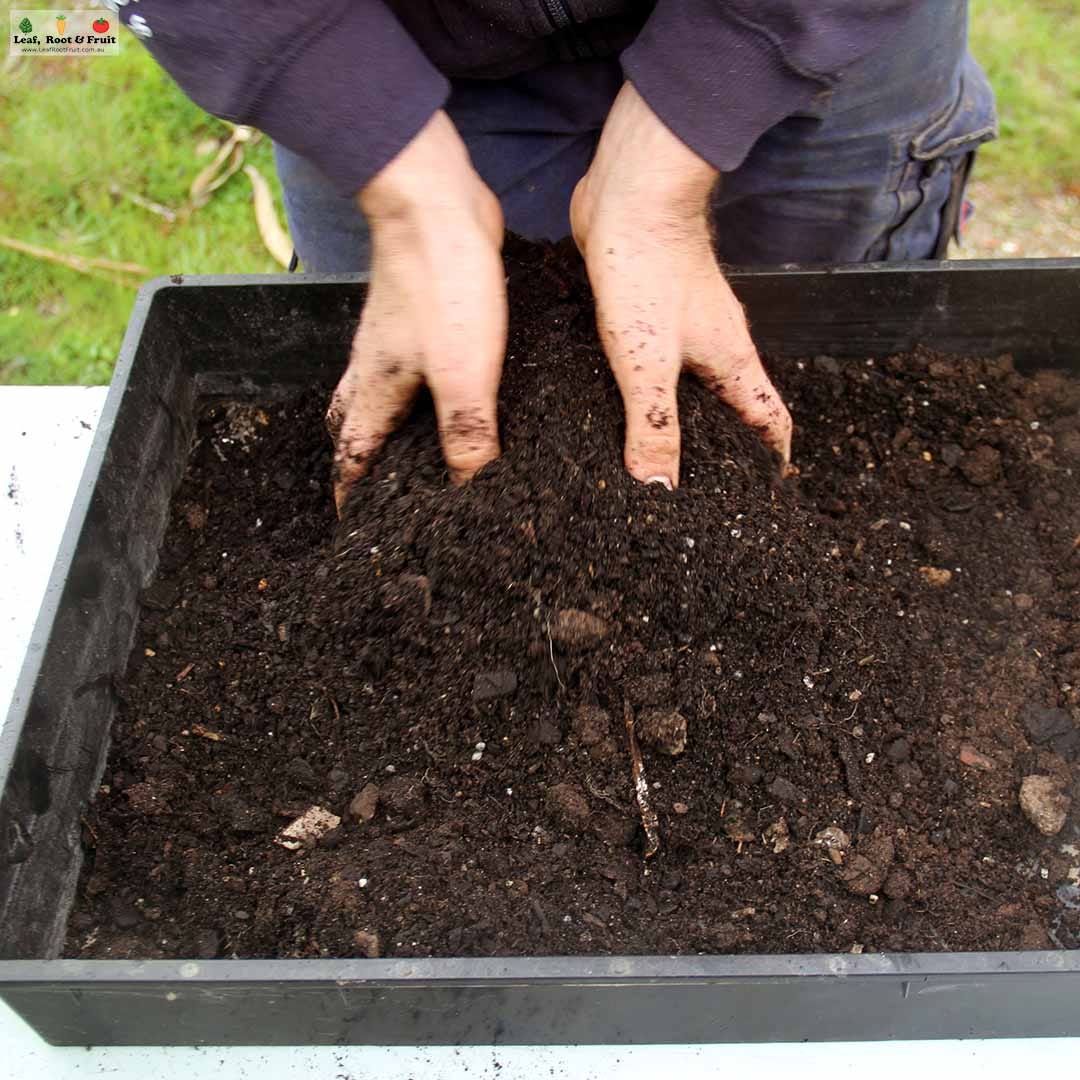
The reliability of any bioassay is only as good as the material sampling used to set it up. Sampling should be done in such a way that the sample is representative of the whole batch being tested. To do this, take samples from various locations in your pile of compost or manure or whatever you’re testing and mix them together thoroughly.
Sampling straw
Straw carries a big risk of introducing herbicide contamination because many farmers now use broad leaf herbicides on barley and wheat crops to reduce weed competition. Lucerne and pea straw are fairly susceptible to herbicides, so they are less likely to be contaminated. In other words, they won’t grow well if they are exposed to those herbicides, so deliberate exposure by farmers is less likely.
I try to close the loop on our property and I use mainly materials generated on site for ingredients in my hot compost. However, sometimes I resort to bringing in purchased materials such as straw.
Before assaying straw it is best to cut it into small pieces. This can be done with a sharp pair of scissors.
What materials are required for setting up a bioassay?
Potting mix
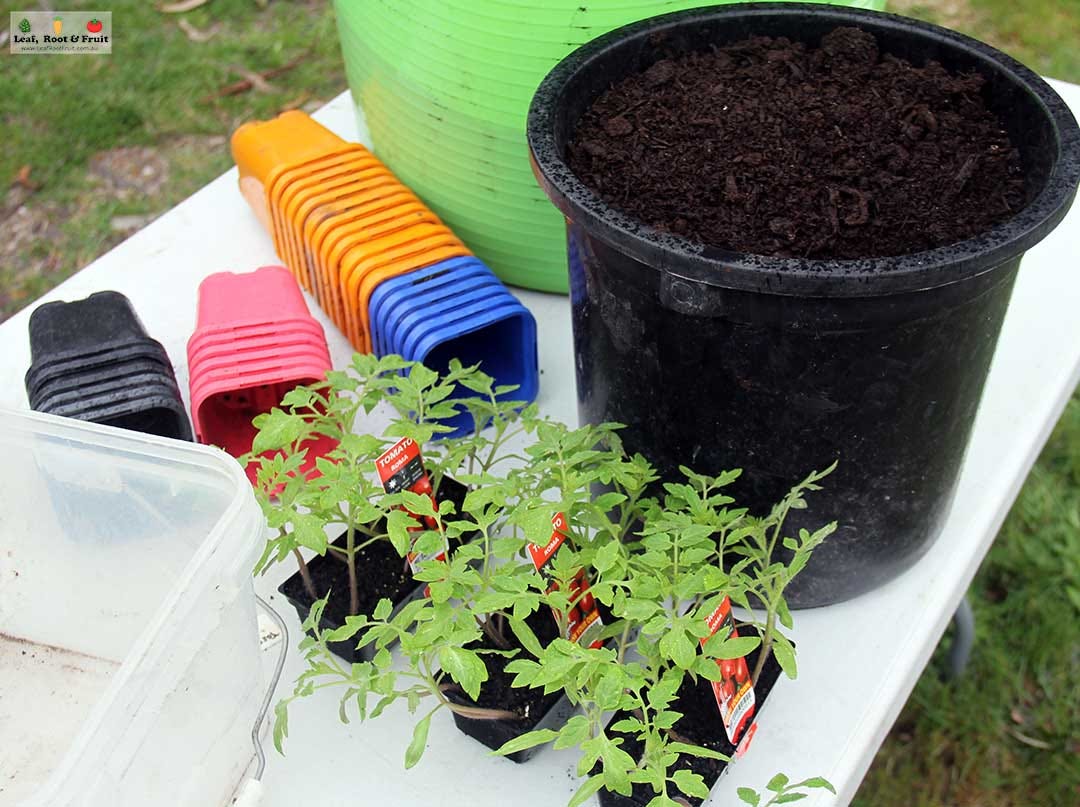
Using a quality potting mix will ensure that plant growth will be supported for the duration of the bioassay.
Pots
Typically, 10 cm pots are used for running bioassays. I tend to use 7cm square pots as they make more efficient use of space. Regardless, use pots that are identical in size. Coloured pots can be useful for avoiding label mix-ups during the bioassay.
Candidate seeds or seedlings
I usually use legumes such as bean or pea seeds. Legumes are very susceptible to broad leaf herbicides such as aminopyralid and clopyralid. Bean seeds are relatively cheap and can be purchased in bulk.
Broad beans (Vicia faba) can be used from early autumn through to early spring.
Bush beans (Phaseolus vulgaris) can be used from early spring to early autumn.
Peas, especially snow peas (Pisum sativum), can be used at all times of the year.
A faster turnaround (by around one week) can be obtained by potting up seedlings from the Solanaceae family. Tomatoes, eggplants and capsicums are all sensitive to broad leaf herbicides. These seedlings will be sensitive to cold weather and frost so are suitable (in temperate climates) for setting up bioassays only in spring and through to late summer (you may need to use a greenhouse early in the season).

Controls
A bioassay needs to include a negative control. This consists of straight potting mix.
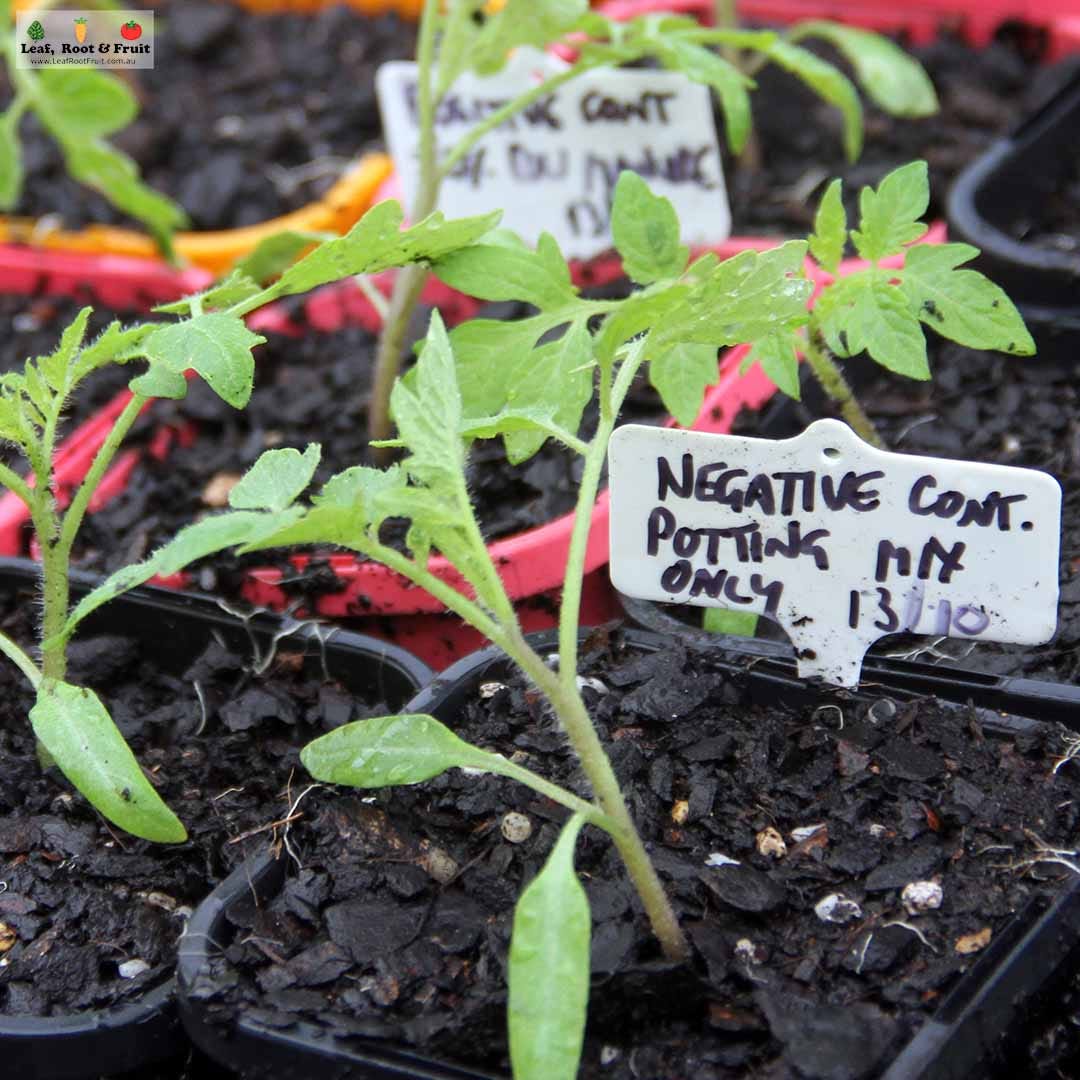
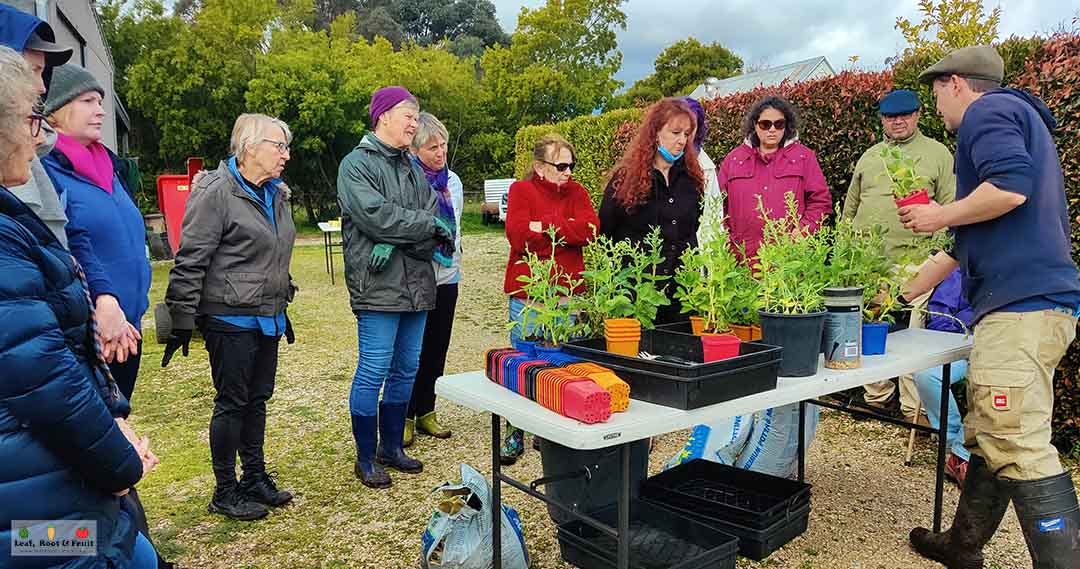
Some workshop participants and I once set up a bioassay as part of a composting workshop. Every single broad bean plant showed symptoms of herbicide contamination. The negative control allowed me to deduce that it was the potting mix that was contaminated. You see, even potting mix is not safe from this dreadful problem. It meant that the assay needed to be re-done with different potting mix before I could be sure of the status of the test materials.
Come along to my upcoming workshop The Art of Compost (August 24). Together we will build a hot compost pile and you will gain some practical experience in setting up a bioassay on some of the input materials.
Preparing your materials to be tested
Dilutions or percentage blends of the test materials should reflect the end usage of the product:
Most composts would be applied at a rate of around 10% of the topsoil. Testing a 10% blend would most likely replicate how compost might be used in a garden.
A 20% blend could reflect slight overuse of compost in the garden.
Testing a 50% blend will show up any low traces of contaminants and is recommended to give more confidence in the test results.
I have found that 10% and 50% test blends meet my needs.
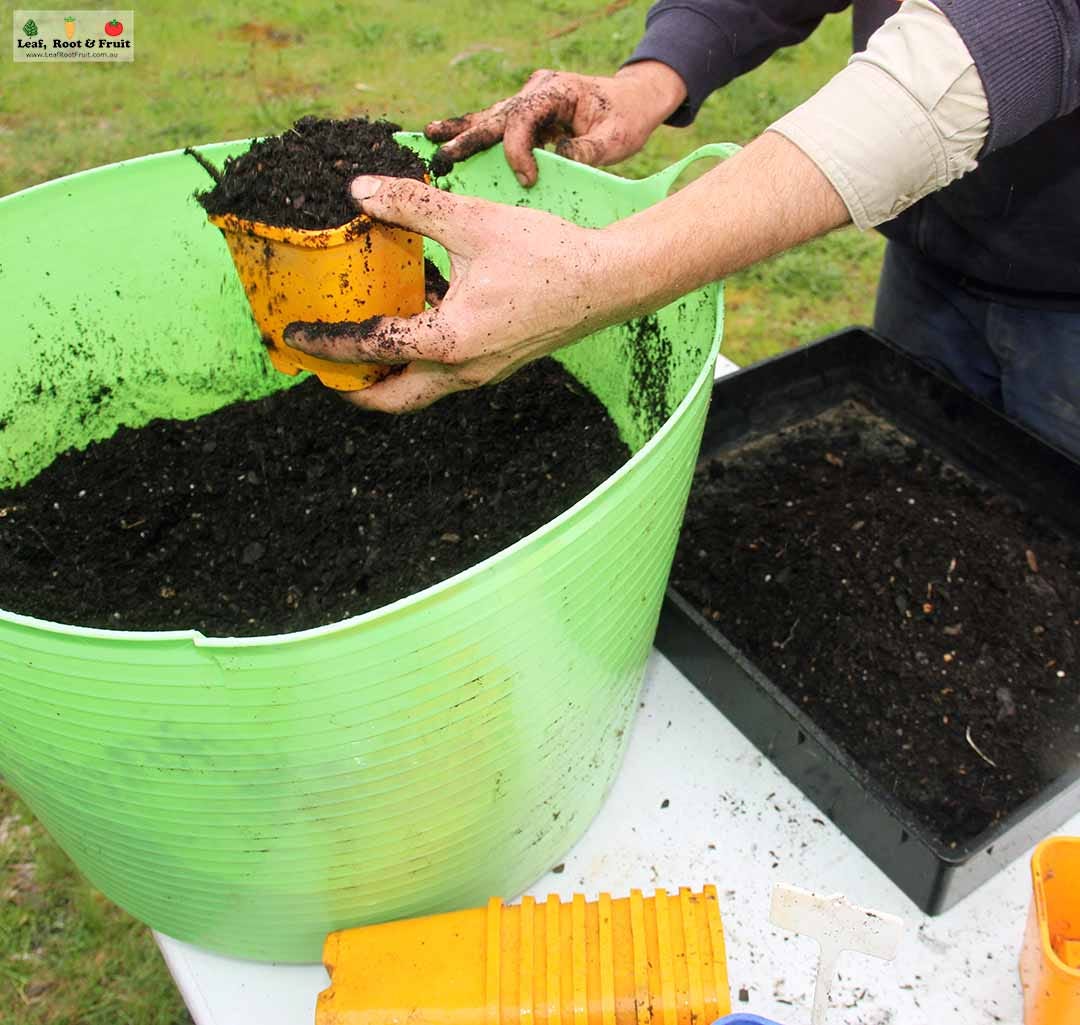
When blending, first calculate how much of each blend you will need for the bioassay. I recommend that you pot up six replicates of each blend (and the negative control). So you will need at least six pots worth of each blended mix.
For example, you could obtain a 10% blend by mixing one full pot of compost to be tested with nine pots full of potting mix. Other test blends can be obtained as follows:

Watering your bioassay – this bit is critical to avoid misleading results
An automatic watering system ensures that plants are kept adequately hydrated. However, use caution with automatic watering systems. Many of the broad leaf herbicides that you may be testing for are water soluble. Watering the bioassay excessively may flush any potential contaminates from the blended soil and provide you with false negative results. Leaving the plants in the open may create issues from too much rainfall.
I have noticed this occurring in situations where I’ve included a positive control (a pot containing material that I know to be contaminated) that didn’t cause plants to develop symptoms as expected.
Water the plants as little as possible to prevent false negatives
Testing blends as high as 50% can help ensure that overwatering is not influencing results too much. Adding individual saucers under pots can also help reduce the impact of overwatering. Don’t allow water to seep out of pots and cross-contaminate another pot (such as a negative control) via capillary action (for example, by standing all the pots in a tray that doesn’t have drainage holes).
Once I stuffed this up
I wasn’t patient enough. I had stockpiled 15 cubic metres of mushroom compost and I conducted a bioassay on it. I wanted to make sure it was free of herbicide contamination before adding it to the soil in my netted enclosure.
The broad bean plants grew well, looking strong and healthy, so I started using the compost. However, a week later the broad beans started to show the tell-tale signs of herbicide contamination. But it was too late – I’d used half the compost pile.
Fortunately, symptoms were visible only in the 50% blend, so the contamination was weak. Spring was very wet that year, so much of the residual herbicide was washed down much lower into the soil profile. The result was that the contaminated compost didn’t have any long-term effects on the plants in the netted enclosure. But I’ve learnt to be a lot more careful and patient with my interpretation of the results. It could have been a disaster!


