Preserving Excess Produce: Making Passata
Part Thirty-seven of the Vegetable Patch from Scratch Series
Kerryn, my wonderful editor, nominated this post as her favourite in the whole 39 part series. So I’ve decided to make it available to free subscribers as well as my paid supporters. Let me know in the comments if you agree with her. Enjoy!
I grow a lot of tomatoes. We eat them fresh in salads, but the kids prefer to eat them right there in the patch.
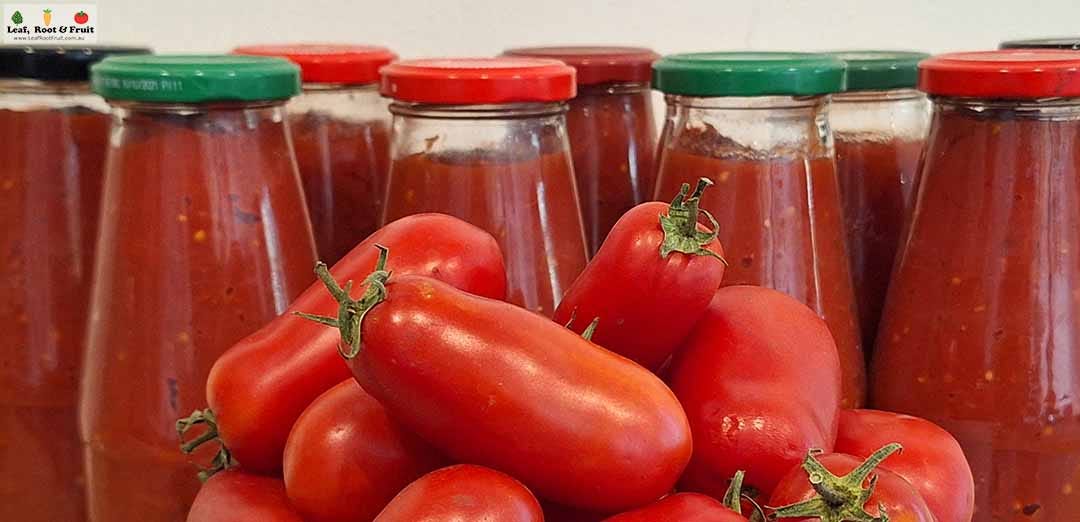
Most of our tomato plants are the San Marzano variety. These have a low juice and seed content. They’re “meaty” and a great cooking tomato. One of the best ways to use such cooking tomatoes is to make passata. By strict definition this means cooked tomatoes that have had the seeds and skin strained out, with no herbs or other flavours added. The tomato pulp is then preserved in jars for later use in pasta dishes, soups and other tomato-based dishes.
You can buy saucing tomatoes, but I like to grow them myself. Each year I aim to grow 60 San Marzano plants. This equates to many kilos of tomatoes harvested. I could grow fewer tomatoes, but I grow that many so our team of volunteer interns can take plenty home to preserve for themselves. A bigger crop enables one team member to take home a large harvest each week. Around peak harvest time, I keep the harvest from one week to make one huge batch of passata.
If I grew fewer tomato plants, then I might need to do several smaller batches, as the produce ripened. That’s several times of washing up all the equipment… and I hate washing up. A single batch of passata is enough to keep our family well stocked for 12 months. Making passata once a year means more efficiency and less washing up. That’s a big win in my book.
Why do I mention the efficiency and washing up? Because making passata is fun, but it’s also a lot of work.
Do try this at home.
Don’t try this alone.
Make sure you have a few helpers to keep the day fun. In my experience, tackling large volumes of tomatoes alone is a soul-destroying activity that’ll leave you exhausted at the end of the day.
Bottles, bottles bottles!
You’re going to need a lot of glass bottles or jars to store your passata. Don’t wait until your tomatoes are ripening to start scrounging for these. Collect them throughout the year.
I like to reuse jars from store bought passata. We’re self-sufficient in passata but our family and friends are pretty good at saving their jars for me to use. You can also use Fowlers Vacola jars or any other glass containers that can be water bathed (more on that towards the end).
The jars need to be clean. Washing lots of jars takes time. If your work force is going to be limited, then get a head start on this and do it a few days in advance. Passata day can be a long day. Getting a head start can help to keep it manageable.
Super ripe tomatoes make for super delicious passata
During tomato season I get the interns to pick once per week. They pick every tomato with some colour development. This is because if the fruit are left to ripen on the vine then mice and other pests normally wreak too much havoc.
The crates of tomatoes are brought inside and the fruit are laid out on trestle tables for sorting.
All the deep-red tomatoes are collected for immediate processing. The rest are spread out to further ripen.

Another great tip is to avoid storing ripe fruit in cardboard boxes. The fruit tends to sweat or get squished. All that juice makes the cardboard soggy and increases the rate of deterioration. The high humidity will lead to mould and other fungi. When you finally go to move it, the cardboard box tend to burst apart. In short, the whole thing becomes a wasteful mess.

Chop chop!
There are lots of ways to get yourself organised to do this. I typically like to have one person grading fruit (the “sorter”) and one or two “choppers”.
The sorter’s job is to keep the tomatoes supplied to the choppers. They ferry crates of tomatoes, remove stalks (leaving stalks in place until the last minute reduces spoilage) and sort fruit into piles of “perfect” and “damaged”. The latter may need a bit more attention to remove bad bits.
The chopper’s job is to do just that, chop the tomatoes up. Generally, I just slice the fruit in half. Larger fruit may need to be quartered.

Boiling it down
Once you have a decent quantity of tomatoes chopped, it’s time to get them boiling. I don’t usually add any water. Pay close attention initially and continue to stir the pot. Otherwise, the bottom layer of tomatoes will burn. Speaking from experience, you can pick the burnt pieces out, but the “smokey” flavour will infuse right through the batch. Far better to focus on stirring for 30 minutes or so than to eat a year’s worth of smoky passata.

To strain or not to strain?
Once boiled down, the tomato pulp is traditionally strained to remove fragments of skin and seeds. This makes for a nice, smooth product, and when you finally get to eat it your teeth will be free of bits.
To strain your passata you have a few options. The quickest is a dedicated, motorised machine that processes the pulp and strains out the seeds and skin. It makes the process easy, but creates even more mess to clean up.
A cheaper option is to use a mouli. This is a sieve with a blade that pushes the passata through. It’s an upmarket version of using a wooden spoon to push it through a sieve. Both these manual options take time and are extremely laborious. I’d only go down this path if you’ve got someone else to delegate this task to… wink wink! Be warned, though, they probably won’t show up again next year.

Another option is to not strain at all. I’m all for efficiency, so this is my preferred option. To help improve the consistency I use a stick blender to chop all the skins up into smaller pieces.

Bottling your passata
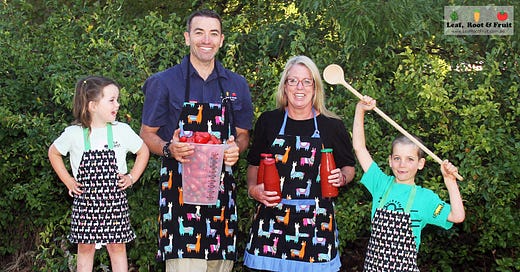
Once your passata is prepared, you’ll need to bottle it. To do this, pour the mixture into your pre-cleaned jars. Fill them almost all the way to the top. Using a funnel can help. This is another messy job. Pretty much every aspect of making passata is a messy job, but this one is very messy. Pay attention and don’t be distracted by the kids squabbling over whose turn it is to wear the llama apron.
Modern tomatoes are not as acidic as older varieties. It’s recommended that you increase the acidity to ensure that the tomatoes remain safe to eat through long storage. A lack of acidity can allow pathogens to proliferate in your passata. You can increase the acidity by adding to each bottle a tablespoon of:
vinegar, or
lemon juice, or
half a teaspoon of citric acid.
This is also an opportunity to add some herbs such as oregano or basil for flavour. I add a crushed garlic clove at this point too. We typically add herbs to half of our jars and leave the other half plain to give us different culinary options.
Once you’ve filled your jars it’s time to put the lids on and water bath them.
Time for a long leisurely soak
This is for the passata, not you, you’ve still got work to do.
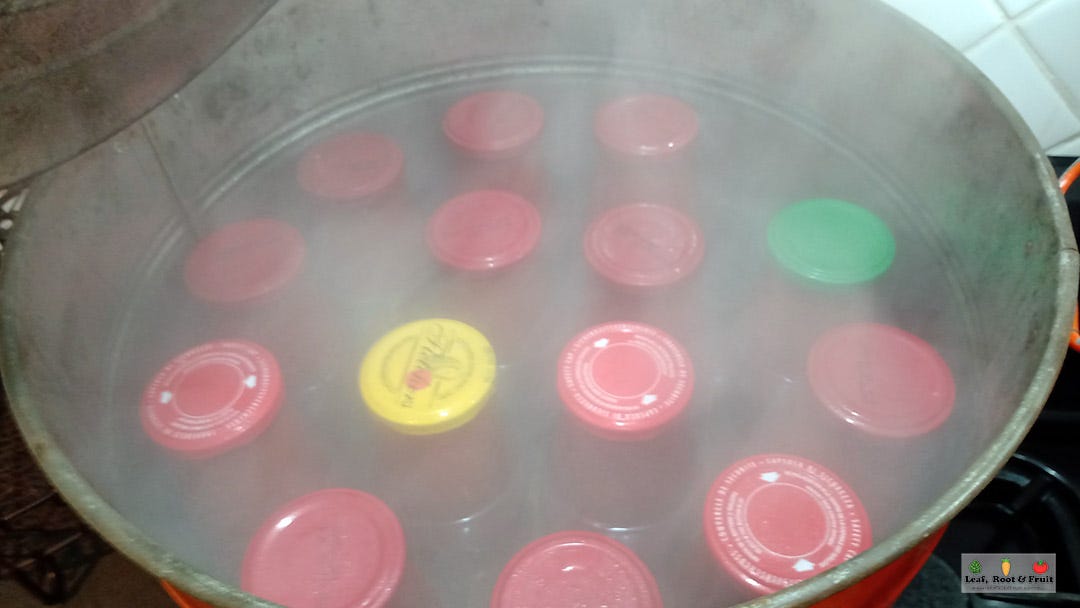
I use a Fowlers Vacola steriliser to do this. It has a false bottom in it to keep the jars away from direct heat. A large pot will do the trick too; just place a cake cooling rack or an old tea towel in the bottom.
Once the jars are all in place you should fill the pot with water to three-quarters of the height of the jars.
Bring to the boil and let them simmer for around 60 minutes. (Start the timer once the water starts to simmer.)
Time to chill out for a bit
Carefully remove the jars from the water bath. Make sure the lids are tight and allow the jars to cool. After 12 hours, check that the seals are intact.

For Vacola jars, check the lids are firmly sealed on.
That’s it
Except for the washing up. So much washing up!
Store your passata in a cool, dark place.

A final word
I never do things by halves. My approach to life, including passata making, is to go to the extreme. Passata making doesn’t have to be an epic affair. You can easily process a few kilos of fruit into a small batch, all on your own. It needn’t turn into the sequel to Looking for Alibrandi.
If you’re thinking big, then careful planning and lots of helping hands is the key.
Tell me more. What’s your experience with making passata? Share with me your top tips, disaster stories and fond memories of family passata sessions. I can’t wait to read them.
This post is one of many in my gardening series The Vegetable Patch from Scratch. See the series index for a list of the other topics in the series.
Read the next post in the Vegetable Patch from Scratch series:
PART 38: Preserving excess produce: pickling


I was hoping there would be a Looking for Alibrandi reference and you didn’t disappoint. 😂 Also well done on problem solving the llama apron situation. Thanks for sharing all your tips.
Hi Duncan,
A few comments from my experience. Tomato variety is important. A good passata tomato has high solids, and fewer seeds. Determinates or semi- determinates crop over short periods, perfect for batch harvesting and processing. Big slicing tomatoes are too juicy, and require too much cooking to thicken, and often the bottles end up half full of clear tomato water. A good processing tomato has an 'outie' abcission scar or stem attachment, rather than an 'innie'. you can easily take the thick scar off with a single knife stroke, with very little loss of flesh. And some varieties disarticulate with no stem or calyx attached, easy processing!
our household of two finds an empty beer stubby is the perfect size for passata. Drink the beer, rinse the bottles, store in the carton, come passata time, easy to fill and cap with home brew gear. And easy to waterbath with a big stockpot. I bought a $70 hand cranked tomato machine, plastic and nylon, its a blessing! And easy to clean.